Noises and artifacts can make video look grainy or have weird marks. Noise causes random dots or static. Compression artifacts are shapes or lines that show up from how the video is made.
There are different types of artifacts, like ghosting and compression artifacts. People can spot some artifacts more easily than others. Ghosting artifacts are harder to see than compression artifacts and noise.
Key Takeaways
Good lighting is very important. Use strong lights to make less noise and make your video look clearer.
Lower your ISO settings. High ISO can make your video look grainy, especially when it is dark.
Pick the right codec and bitrate. This helps stop compression artifacts that can hurt your video quality.
Edit your video with care. Use noise reduction tools to fix problems but keep the important details.
Always check your video. Look for noise and artifacts before you finish your edits.
Understanding Video Noise and Artifacts
What Is Video Noise
Video noise looks like random dots or grain on your video. It can remind you of static on a TV. This happens more in low light or with high ISO settings. Digital cameras make noise when they do not get enough light. There are different types of noise. Gaussian noise spreads out evenly over the picture. Random impulse noise makes sudden bright spots. Sometimes, mixed noise shows up and makes things even less clear.
Tip: Use more light and lower your ISO to help stop video noise.
Here is a table that lists where noise comes from in digital cameras:
Source of Noise | Explanation |
|---|---|
Low Light Conditions | Grainy video happens when the camera does not get enough light. |
High ISO Sensitivity | Using a higher ISO makes more noise in your video. |
Small Sensors | Small sensors do not catch much light, so noise goes up. |
Compression Artifacts | Low bitrate compression can add blocky noise to your video. |
What Are Video Artifacts
Artifacts are marks or problems that you do not want in your video. You might see blocky shapes, blurry edges, or bands of color. These problems often show up when you compress your video to save space. Artifacts can also look like flickering, floating things, or jerky movement. Each kind of artifact changes how your video looks and feels.
Here is a table with the most common artifact types:
Description | |
|---|---|
Blocking Artifacts | Blocky shapes from losing detail in low-bitrate videos. |
Blurring | Loss of sharpness and detail from strong compression. |
Color Banding | Bands of color in gradients from low color depth. |
Mosquito Noise | Flickering around edges in low-bitrate videos. |
Flickering | Changes in brightness or color between frames. |
Floating | Objects seem to float because of bad motion estimation. |
Jerkiness | Uneven movement from low frame rates or bad frame blending. |
Why Video Quality Suffers
When noise and artifacts show up, your video quality gets worse. It can be hard to see details or enjoy watching. Noise makes your video look messy and hard to see. Artifacts can distract you with weird shapes, color bands, or flickering. These problems often come from bad lighting, high ISO, small sensors, or too much compression. Studies say that videos with more noise and artifacts get lower ratings from people. You should try to stop these problems to keep your video quality good and your viewers happy.
Causes of Video Compression Artifacts and Noise
Compression Artifacts Explained
When you make video files smaller, you often see compression artifacts. The process tries to save space, but it can cause problems. You might see blocky shapes or blurry spots. Sometimes, you notice color banding too. These things happen because details get removed. Spatial artifacts, like blocking and banding, show up in one frame. Temporal artifacts, like flickering or jerkiness, affect how things move. Low bitrates and wrong settings make these issues worse. This is especially true in busy scenes. Compression artifacts can make your video look less clear and less fun to watch.
Here is a table that shows common video compression problems you might see in online streaming:
Artifact Type | Description |
|---|---|
Blocking | Square or rectangular patterns due to pixel grouping during compression. |
Blurring | Loss of sharpness in fast motion scenes from aggressive compression. |
Color Banding | Visible bands of color instead of smooth gradients in scenes with gradual color changes. |
Bitrate Drops | Sudden drops in bitrate lead to quality loss and increased artifacts. |
Resolution Changes | Downscaling can introduce pixelation and loss of detail, visible as jagged edges. |
Streaming Artifacts | More visible in streaming due to adaptive bitrate adjustments based on network conditions. |
Lighting and ISO Effects
Lighting is very important for video noise. Bad lighting makes your video too dark. You might need to raise your ISO to make it brighter. But higher ISO also adds more noise. This is easy to see in shadows and mid-tones. Indie filmmakers and people with less money may not have strong lights. This makes noise and artifacts show up more.
Indie filmmakers often do not have good lights, so noise is a bigger problem.
Good lighting helps your video look clearer and reduces noise.
Changing exposure and using diffusers can help hide noise.
Make sure your room has enough light or use extra lights.
Change camera settings like exposure and ISO for the best look.
Try not to use backlighting so your subject stays bright.
Over-Sharpening and Exposure Issues
You might try to sharpen your video to make it look better. But too much sharpening can cause halos. Halos are bright or dark rings around edges. These rings can distract people and make your video look strange. Over-sharpening is a common mistake when editing. Exposure problems also add noise. If your camera does not get enough light, it cannot make a clean image. This causes more electronic interference, which looks like noise.
Digital noise often happens in low light.
If your camera sensor does not get enough light, the signal-to-noise ratio goes down.
A lower signal-to-noise ratio means more noise and less real image.
Over-sharpening makes halos that take attention away from your subject.
Here is a table that explains how blockiness, halos, and posterization affect video quality:
Artefact | Description | Effect on Video Quality |
|---|---|---|
Blockiness | Visible blocks or squares in an image due to aggressive compression. | Detracts from smoothness in low-detail areas, reducing overall aesthetic quality. |
Halos | Bright or dark rings around edges caused by over-sharpening. | Distracts viewers from the main subject, especially in high-contrast scenes. |
Posterization | Fewer color tones than intended, leading to abrupt transitions. | Makes images appear flat or unnatural, particularly in gradient-heavy areas like skies and water. |
Video Compression Problems
Video compression can cause many kinds of artifacts. Different codecs handle compression in different ways. Some codecs, like H.264/AVC, work well for still scenes. But they may show more artifacts in fast motion. Others, like HEVC/H.265, keep detail in fast scenes but need a higher bitrate. AV1 is good at saving space but needs more computer power. VP9 balances quality and file size but takes longer to finish. VVC/H.266 uses new tricks but does not work on all devices.
Codec Type | Strengths | Weaknesses |
|---|---|---|
H.264/AVC | Effective for still sequences | May introduce artifacts in high-motion scenes |
HEVC/H.265 | Maintains detail in high-motion | Requires higher bitrate for quality |
AV1 | Good compression efficiency | Computationally intensive |
VP9 | Balances quality and file size | Slower encoding times |
VVC/H.266 | Advanced compression techniques | Limited hardware support |
You can see different artifacts depending on the codec, bitrate, and speed. Lower bitrates and fast encoding can make blocking and banding worse. Compression always tries to balance file size and quality. But this can lead to visible problems. Compression artifacts, like banding and blockiness, can make your video look less professional.
Common Types of Artifacts
Blockiness: Square shapes from strong compression.
Halos: Rings around edges from too much sharpening.
Posterization: Sudden color changes, also called banding.
Banding: Lines in color gradients, often in skies or water.
Tip: To help stop video compression artifacts, use higher bitrates and pick the right codec for your needs.
Detecting Video Issues
Spotting Compression Artifacts
You can spot many problems in your video by looking closely at the picture. Some signs show up more than others. When you watch your video, look for these common issues:
Blocking: You may see square or rectangular patterns, especially in dark areas. These blocks look like a patchwork and break up smooth parts of the image.
Blurring: Fine details disappear, and sharp edges look soft. This often happens in fast-moving scenes or where there are complex textures.
Color banding: Smooth color changes break into harsh stripes. You might notice this in the sky or on walls.
If you see these signs, you are detecting video compression artifacts. These problems can make your video look less clear and less enjoyable.
Identifying Noise Patterns
Noise can show up in many ways. You might see random dots or grain that cover the whole video. Sometimes, noise looks like static on an old TV. It often appears in shadows or dark areas. You may also notice noise when you use high ISO or shoot in low light. Noise can move or flicker from frame to frame, making the video look messy. If you see bright spots that pop up suddenly, that is another sign of noise. Try to check different parts of your video, like faces, backgrounds, and moving objects, to find where noise is strongest.
Tip: Good lighting and lower ISO can help reduce noise before you even start editing.
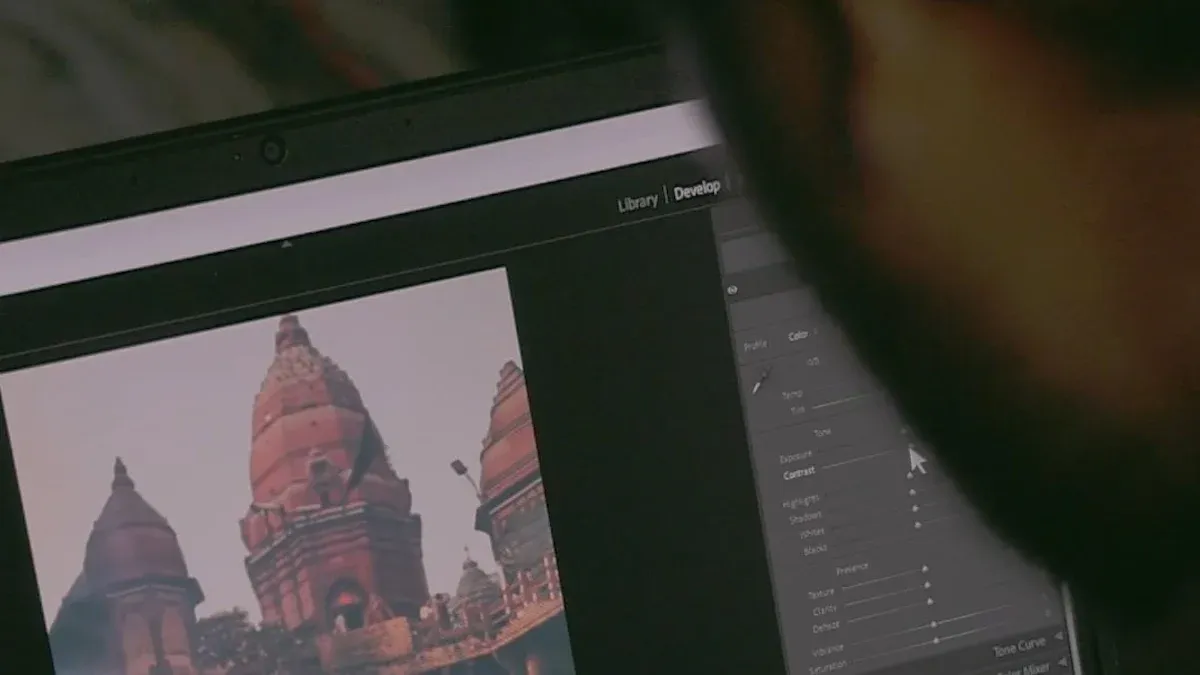
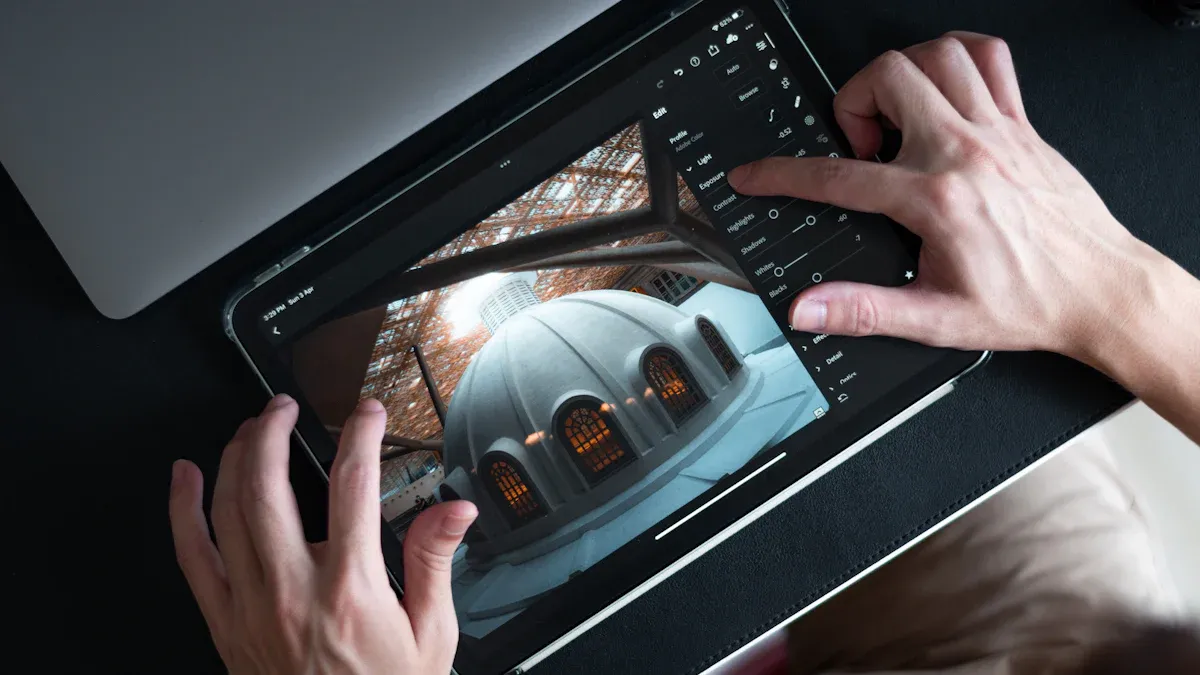
Using Analysis Tools
You can use software tools to help find noise and artifacts in your video. Start with visual inspection. Play your video frame by frame and look at edges, shadows, and scenes with a lot of movement. VLC Media Player lets you pause and step through frames to spot problems. Adobe Premiere Pro gives you advanced tools for monitoring your video while you edit. You can use features like Lumetri Color to check for color banding. Bitrate Viewer helps you see where the bitrate drops, which can lead to more artifacts. If you want to fix noise, try plugins like Neat Video for advanced noise reduction.
Note: Many editing programs have built-in tools for detecting and fixing noise and artifacts. Try different tools to see which one works best for your video.
Noise Reduction and Artifact Fixes
In-Camera Solutions
You can stop many problems before you record. Change your camera settings to avoid grain and noise. Use the lowest ISO that works for your lighting. High ISO makes grain show up more, especially in dark places. Do not use auto ISO so you can control how bright your video is. Set your exposure and white balance by hand. This helps stop your video from being too dark or too bright, which can add grain and make it look worse.
Try to use the native ISO setting. Raising ISO makes noise appear much faster than you think. Make your image a little brighter to hide grain in shadows, but be careful with bright spots. Slower shutter speeds let in more light, which helps lower noise. If you use a logarithmic gamma curve, you get more dynamic range, but you might see more grain in dark areas. Shooting in raw formats lets you fix noise better when editing later.
Keep your camera steady. Use a tripod or stabilizer to stop shaking. Built-in or extra stabilization helps you keep your video looking good. These steps help you get better video, so fixing noise later is easier.
Lighting and Shooting Tips
Lighting is very important for less grain and noise. Try to make your scene bright and balanced. Use LED panels or softboxes to light up your subject. Good lighting lets you use lower ISO, so you get less grain. If you film in dark places, you will see more grain and noise. Try not to use backlighting, so your subject stays bright and easy to see.
You can use filters to control light. Polarizing filters cut glare, and neutral density filters control how much light goes into the lens. These filters help you keep your exposure right, which lowers the chance of video compression artifacts and grain.
Making your lighting better in dark places is like turning on a lamp in a dark room. You see more details, and grain is less annoying.
Extra lighting makes contrast stronger and your video sharper. LED panels and softboxes work for different budgets and ideas. When you add light and change your camera settings, you help your camera see better. This helps you keep your video clear and stops grainy footage.
Post-Production Noise Reduction
Sometimes, you cannot stop grain or noise while filming. Editing tools help you fix these problems after you shoot. Good noise reduction takes away grain and makes your video nicer to watch. Temporal noise reduction looks at frames over time to remove moving grain. Spatial noise reduction checks each frame and smooths out grainy spots. AI-powered noise reduction uses smart computer programs to find grain without losing details.
You need balance. Too much noise reduction can make your video look fake. You want to keep details while removing grain. Many editing programs have noise reduction tools. VideoProc Converter AI uses smart technology for strong noise reduction. It works well for podcasts, interviews, and vlogs. You can change settings and fix many files at once. Audacity is free and has good editing tools, including noise reduction. It works best for audio, but you can use it for some video projects too.
Tip: Try different ways to reduce noise to see what works best for your video. Always check your results to make sure you keep important details.
Fixing Video Compression Artifacts
Video compression artifacts can ruin good videos. You see blocky shapes, color bands, and blurry spots. To lower video compression artifacts, use the right settings. Pick a higher bitrate and the best codec for your video. Do not use fast encoding, because it can make video compression artifacts worse.
When editing, you can use plugins and software to fix video compression artifacts. Here is a table that compares popular tools for removing artifacts:
Plugin Name | Effectiveness | Pros | Cons |
|---|---|---|---|
Adobe Premiere Pro | Built-in tools for noise reduction and artifact removal | Works with third-party plugins, non-destructive | Needs experience, lacks advanced AI |
Topaz Video AI | AI restores compressed footage and reduces artifacts | Advanced AI, user-adjustable parameters | High cost, needs high-end GPU |
HandBrake | Adjusts encoding settings to reduce artifacts | Free, open-source, good for basic fixes | No AI features, less automation |
DaVinci Resolve | High-quality noise reduction and artifact removal | Precise control, ideal for professionals | Upgrade needed for full features, complex |
Topaz Video AI uses smart AI to fix high-resolution footage and lower grain. DaVinci Resolve has strong tools for noise reduction and artifact removal. HandBrake is free and helps with basic video compression artifact fixes. Adobe Premiere Pro has built-in tools and works with many plugins.
Note: Always start with good video. Fixing video compression artifacts is easier when your footage is high quality.
You can use both temporal noise reduction and spatial noise reduction for the best results. Try different plugins and settings to see what works for your video. This helps you keep your video clear and improve how it looks.
You can make your videos look much nicer by fixing noise and artifacts. When you find and fix these problems, people enjoy your videos more. The table below explains why this is important for the future:
Benefit | Description |
|---|---|
Makes the video look better and more interesting. | |
Preserving historical footage | Keeps important records safe and unchanged. |
Improving viewing experience | Helps people have more fun watching, so they pay attention. |
Try these steps each time you make a video:
Look for noise and artifacts before you start editing.
Use good lighting and set your camera right.
Use tools to remove noise and artifacts.
Check your video and change things if needed.
Keep trying new tools and ways to fix problems. Your video quality will get better as you keep learning.
FAQ
You often see video noise when you record in low light or use a high ISO setting. Small camera sensors also add noise. Compression can make it worse. Try to use more light and set your ISO as low as possible.
You can use noise reduction tools in your editing software. Try plugins like Neat Video or Topaz Video AI. Increase your bitrate when exporting. Choose the right codec for your project. Always check your video after making changes.
You can fix many problems, but not all. Good lighting and camera settings help most. Editing tools can reduce noise and artifacts, but starting with good footage gives you the best results.