
Concert footage rarely looks as good as it felt in the moment.
You remember the energy. The lights. The sound hitting hard. Then you watch the video back and… it’s dark, shaky, and a bit disappointing.
That’s normal.
Most concert footage issues come down to three things: low light, movement, and compression. All three can be improved after recording.
What makes concert footage look bad?
Concert videos look bad because cameras struggle with fast movement and inconsistent lighting at the same time.
It’s not just one problem. It’s everything happening together.
Low light creates noise
When lighting drops, your camera pushes ISO higher. That introduces grain and wipes out fine detail.
Movement causes blur
Hands move. People bump into you. The artist doesn’t stay still. The result is motion blur and shaky framing.
Compression removes detail
If the video is recorded or shared in lower quality, textures and edges get softened fast.
Stage lighting breaks color balance
Strong reds, blues, and spotlights can throw off skin tones and contrast.
How to improve concert footage step by step
The best way to improve concert footage is to stabilize first, enhance second, and adjust color last. The order matters more than the tools.
Get the sequence right, and even average footage becomes usable.
Step 1: Fix shaky video first
Stabilization should always come first because every other improvement depends on it.
If the frame is constantly moving, sharpening or enhancing it just makes the problem more obvious.
Use a video editor or stabilization tool to:
- Smooth out hand movement
- Reduce jitter
- Slightly crop the frame if needed
You don’t need perfection here. Just make it watchable.
Step 2: Enhance clarity and reduce noise
Enhancement is where most of the visual improvement happens, especially for low-light footage.
Concert videos often stack problems. Grain, softness, compression artifacts. Fixing them one by one is slow and inconsistent.
Modern tools handle them together.
You’ll usually notice:
- Less noise in darker areas
- Sharper details without heavy artifacts
- Clearer overall image, even when upscaled
Some tools also improve motion by adding intermediate frames. That helps when clips feel choppy during fast scenes.
Not every video needs strong enhancement though. Push it too far and it starts to look artificial. Small adjustments tend to look better.
Some tools, including TotalMedia VideoEnhance, combine enhancement, upscaling, and motion smoothing in a single workflow.

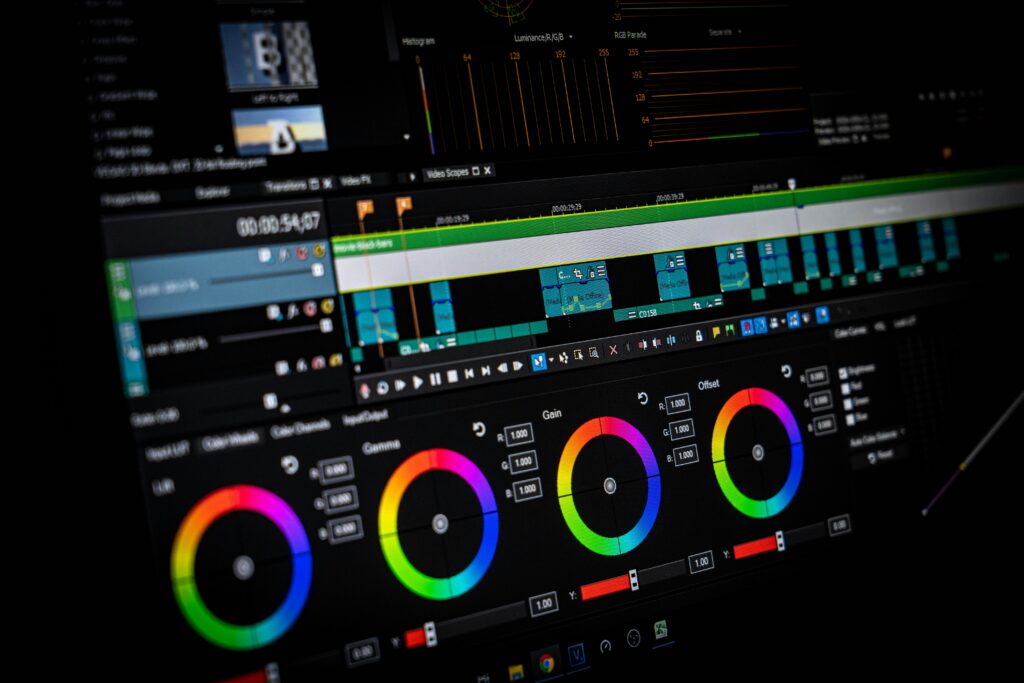
Step 3: Correct colors and lighting
Color correction brings footage back to something that looks natural and balanced.
Concert lighting is unpredictable. One second it’s blue. Next second everything is blown out.
After enhancement, use a video editor to:
- Adjust brightness and contrast
- Fix white balance
- Tone down extreme colors
Don’t overdo it. The goal isn’t to remove the concert atmosphere. Just make it easier to watch.
Step 4: Improve motion smoothness (if needed)
Motion smoothing helps when footage feels choppy, but it should be used carefully.
If your video looks jumpy:
- Slightly increase frame rate using interpolation
- Avoid extreme settings
Too much smoothing creates that artificial “soap opera” look. Subtle is better.
Step 5: Export with the right settings
Export settings decide how your video looks when shared or uploaded.
Even a well-edited clip can fall apart here.
Focus on:
- Format: MP4 is the safest choice
- Resolution: match your enhanced output
- Bitrate: don’t go too low
If you’re handling multiple clips or need smaller file sizes, tools like TotalMedia VideoConverter can simplify batch conversion and compression. Again, optional. The key is choosing the right settings.
Best settings for low light concert footage
The best settings improve clarity without making the video look processed.
Enhancement guidelines
- Resolution: 200% or 400% if needed
- Noise reduction: moderate
- Sharpening: light
Export guidelines
- Format: MP4 (H.264)
- Bitrate: medium to high
- Resolution: keep consistent with edits
If something looks off, it probably is. Trust your eyes.
Common mistakes to avoid
Most people try to fix everything at once. That usually makes things worse.
Over-sharpening
Edges start to glow. Details look unnatural.
Too much noise reduction
You lose texture along with grain.
Skipping stabilization
Even high-quality footage feels bad if it’s shaky.
Overprocessing
Stacking too many effects creates conflicts and artifacts.
FAQ: Improving concert and live event footage
Start by stabilizing the video, then enhance clarity, adjust colors, and export with proper settings. Following this order gives the best results.
Use stabilization tools first before any other edits. It creates a clean base for everything else.
Yes. Noise reduction and enhancement tools can recover detail and improve clarity, though results depend on the original footage quality.
Grain comes from high ISO in low light conditions. It’s a common limitation of cameras in dark environments.
Final thoughts
Improving concert footage isn’t about making it perfect. It’s about making it watchable again.
Fix the shake. Clean up the image. Adjust the color. Export it properly.
That alone gets you most of the way there.