Editing drone videos can be challenging if your files do not work with your chosen software. Keeping drone footage compatible with any video editor saves time and prevents frustration. Simple settings and the right tools make it easy to start editing without technical problems.
Check Drone Footage Compatibility
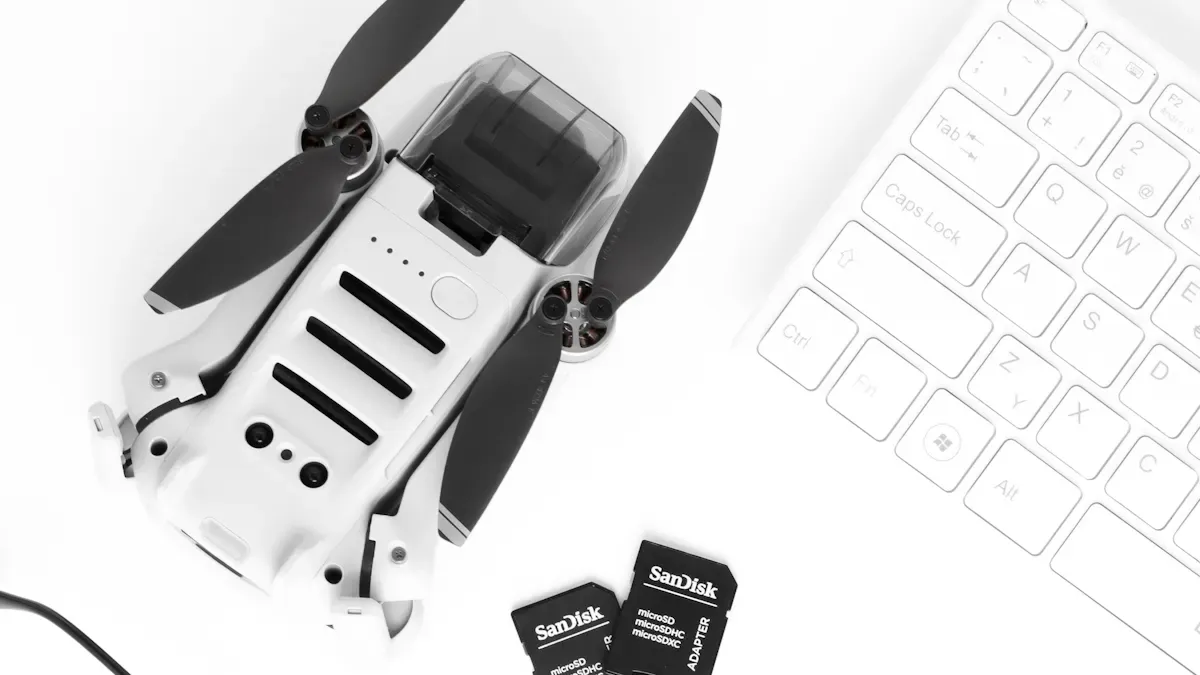
Identify Video Format and Codec
Drone cameras often record in different formats and codecs. Knowing these details helps make drone footage compatible with most video editors. The table below shows the most common formats and codecs used by consumer drones:
Video Format | Description |
|---|---|
MOV | Created by Apple, works best on Mac computers. |
MP4 | International standard, widely compatible and used for streaming. |
H.264 | Standard codec, efficient and supported by most editors. |
H.265 | Newer codec, compresses video well but needs more computing power. |
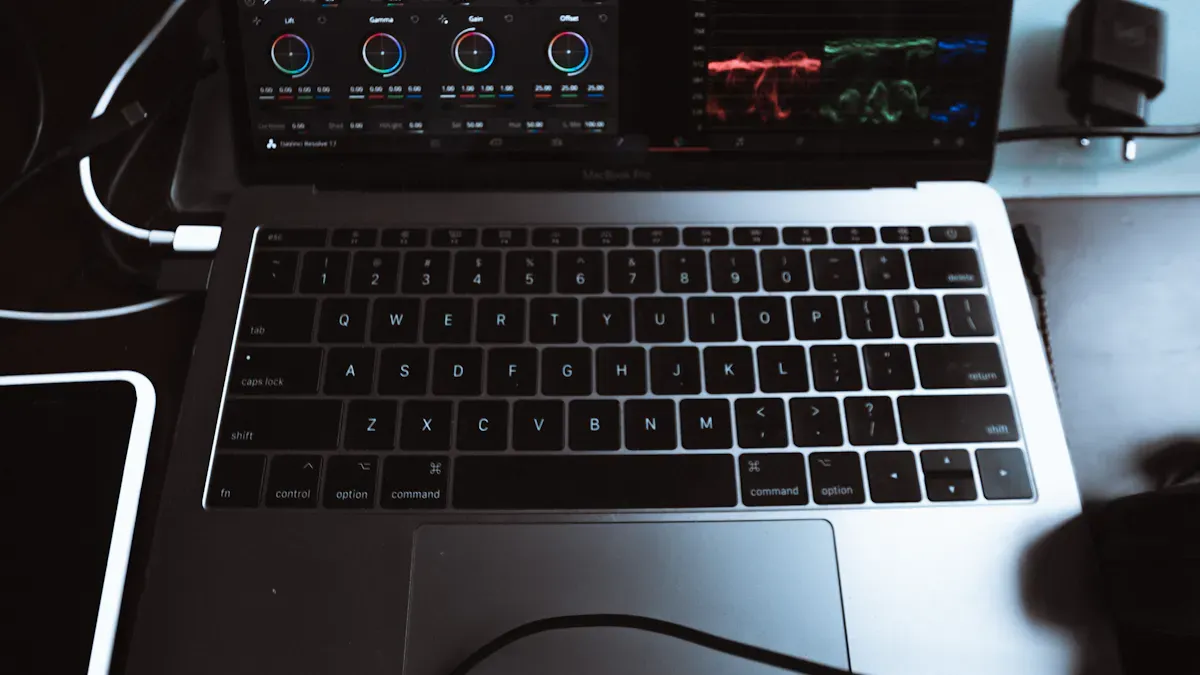
Check your drone’s settings or file properties to see which format and codec your footage uses. Editors like DaVinci Resolve, Premiere Pro, and Final Cut Pro support a wide range of formats, making them good choices for editing.
Common Import Issues
Some editors require specific formats or codecs. For example, DJI drones often save files as .MOV or .MP4. Not all editors accept these formats, which can cause problems. Wide-angle footage and high-resolution files may also create challenges. Editors like Lightworks, Shotcut, and VEGAS Pro handle many formats, but others may need conversion before editing. Choosing software that supports your footage helps keep drone footage compatible.
Tip: If your editor cannot open your files, try converting them to MP4 with H.264 codec. This format is an industry standard and works with most editors.
Back Up Original Files
Always back up your original drone footage before making changes. Store files on an external drive or cloud service. Backups protect your footage from accidental loss or corruption during conversion or editing. Keeping originals ensures you can always return to the source if needed.
Convert and Optimize for Compatibility
Making drone footage compatible with any video editor often requires converting and optimizing files. This process ensures smooth editing and prevents technical issues. The following steps guide you through converting, optimizing, and verifying your footage for maximum compatibility.
Convert to MP4 H.264
Most video editors accept MP4 files encoded with H.264. Converting your footage to this format improves compatibility and reduces file size. TotalMedia VideoConverter offers fast, high-quality conversion with just a few clicks. Batch processing lets you convert multiple files at once, saving time and reducing manual errors.
Advantage | Description |
|---|---|
Better compression | H.264 allows significant video compression while maintaining excellent quality. |
Reduced file sizes | Files are smaller, making them easier to store and manage. |
Improved compatibility | H.264 is widely supported by various video editing software, enhancing usability. |
Tip: Always back up your original files before conversion. This protects your footage and preserves metadata.
Open TotalMedia VideoConverter and add your files.
Select MP4 as the output format and choose H.264 as the codec.
Use batch processing to convert multiple files simultaneously.
Preview the estimated file size with the real-time file size preview feature.
Batch processing improves efficiency. Studies show task time reduction of up to 68% and eliminate most manual configuration errors.
Metric | Value |
|---|---|
Total task time reduction | 40–68% |
Cognitive load reduction | 2.1 sec/task vs. 5.9 sec |
Manual configuration errors | 92% eliminated |
Background CPU contention | 31% reduction |
Time-to-publication improvement | 73% of labs report reduction |
Use Device or Platform Presets
Device and platform presets optimize your footage for specific editors and devices. TotalMedia VideoConverter includes presets for popular brands and editing platforms. Choosing the right preset ensures your footage matches the requirements of your editing software.
Codec | Target Bitrate (Mbps) |
|---|---|
Uncompressed 12-bit 444 | 2,237 |
Uncompressed 10-bit 422 | 1,326 |
DNxHR HQ | 208 |
DNxHR SQ | 138 |
ProRes 444 (no alpha) | 330 |
ProRes 422 HQ | 220 |
ProRes 422 | 147 |
ProRes 422 LT | 102 |
ProRes 422 Proxy | 45 |
XAVC Intra 422 | 100 |
XAVC Long 422 | 59 |
H.264 High Quality 1080p HD preset in Premiere Pro | 20 |
H.264 Facebook 1080p Full HD preset in Premiere Pro | 12 |
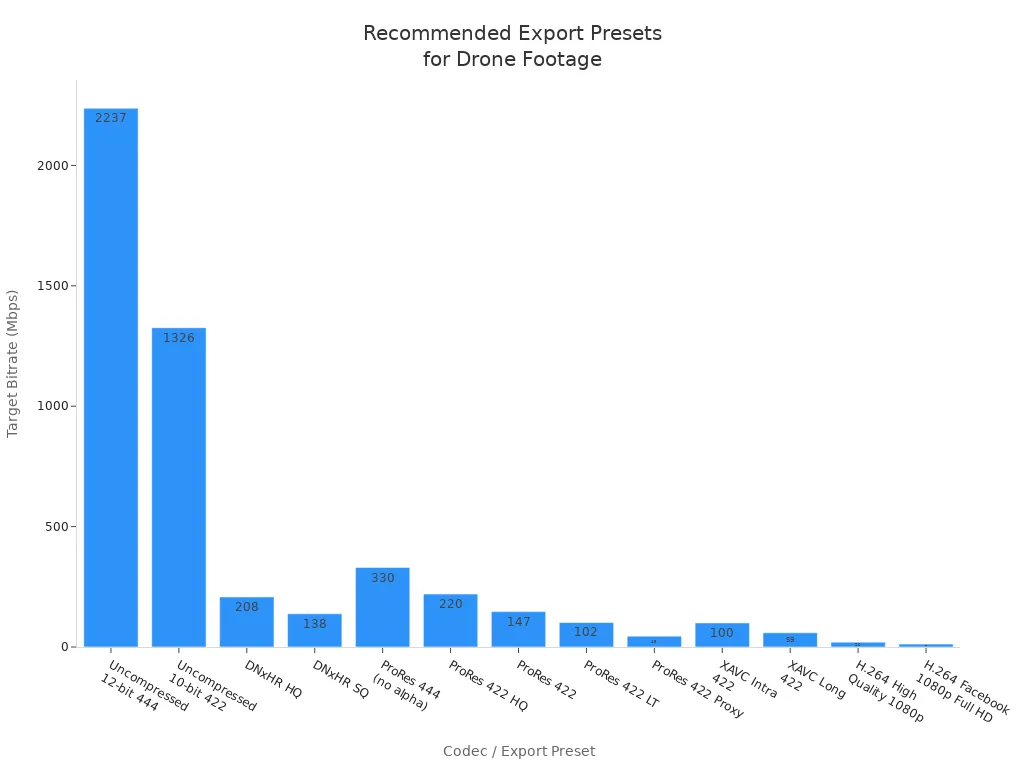
Note: Device presets help make drone footage compatible with editing platforms like Premiere Pro, Final Cut Pro, and DaVinci Resolve.
Adjust Resolution and Frame Rate
Adjusting resolution and frame rate improves performance and compatibility. High-resolution formats like 4K H.265 require powerful hardware. Lowering resolution or frame rate can make editing easier on less capable systems.
4K H.265 footage needs a recent GPU with HEVC decoding support.
At least 16 GB of RAM is required; 32 GB is recommended.
Fast storage, such as external SSDs, helps with smooth playback.
Editing software preferences vary: NVIDIA cards work well in DaVinci Resolve, while both NVIDIA and AMD perform well in Premiere Pro.
Editors handle high-resolution drone footage differently:
4K support ensures clarity and detail.
Color correction enhances visual appeal.
Video stabilization smooths out shaky footage.
User-friendly interfaces reduce the learning curve.
Integration with other software improves workflow efficiency.
Tip: Use TotalMedia VideoConverter’s Smart Fit automation to adjust resolution and frame rate for your device or platform.
Fix Audio Track Issues
Audio synchronization problems can occur when frame rates or sample rates do not match. Fixing these issues ensures your footage is ready for editing.
Match the frame rates of all cameras to ensure consistency.
Set the audio sample rate to 48 kHz to align with video standards.
Use a clapperboard or a hand clap to create a sync point.
Record scratch audio in the camera for reference during editing.
If sync issues persist, use a reliable video repair tool to scan and fix corrupted files. This step maintains the quality of your footage and prevents editing problems.
Note: Always check that audio and video tracks are synchronized before importing footage into your editor.
Verify Output with VLC or Similar Tools
After conversion, verify your files with VLC or another media player. This step ensures your footage plays smoothly and is ready for editing.
User Experience | Details |
|---|---|
User 1 | VLC struggles with certain video formats, particularly H.265, affecting editing. |
User 2 | Hardware is necessary to play H+ videos on VLC; MPC is recommended. |
User 3 | Low-end systems may struggle with raw files from CGO3+ camera. |
User 4 | VLC can convert files but may not support all codecs. |
User 5 | VLC only supports specific codecs; unsupported files cannot be played smoothly. |
Tip: If VLC cannot play your converted footage, check the codec and try converting again with TotalMedia VideoConverter.
Preserving metadata is important for editing. Tools like ExifTool and Lightroom Classic help maintain metadata during conversion. DJI drone metadata embedder allows batch processing and GPS metadata embedding.
Making drone footage compatible with any video editor is easier when you convert, optimize, and verify files before editing.
Test and Keep Drone Footage Compatible
Import to Video Editor
Testing your files in different editing programs helps ensure smooth workflow. Follow these steps to check if your footage works well in your chosen software:
Check if the video editor supports the format and codec of your footage.
Review the system requirements for the editing program.
Download and open the software, then import your footage to see how it performs.
If you notice playback issues or errors, try converting the files again or adjusting the export settings. Using a media player like VLC before importing can help spot problems early. Consistent testing keeps your editing process efficient and helps you avoid surprises.
Tip: Always keep a backup of your original files before making changes or importing them into new software.
Set Up Drone for Future Compatibility
Optimizing your drone’s camera settings before shooting can reduce editing problems later. The table below shows recommended settings for popular drone models:
Camera Model | Setting | Recommendation |
|---|---|---|
Mavic 3 Enterprise | Dewarping | Disable |
Mavic 3 Enterprise | Mechanical Shutter | Enable |
Mavic 3 Enterprise | Focus Mode | MF, focus to infinity |
Mavic 3 Enterprise | Camera Mode | Auto |
Mavic 3 Enterprise | ISO | Auto |
Mavic 3 Enterprise | Shutter Speed | 1/1000s or faster |
Zenmuse P1 | Dewarping | Disable |
Zenmuse P1 | Mechanical Shutter | Enable |
Zenmuse P1 | Focus Mode | MF, focus to infinity |
Zenmuse P1 | Camera Mode | M |
Zenmuse P1 | ISO | Auto |
Zenmuse P1 | Aperture | 5.6–11 |
Zenmuse P1 | Shutter Speed | 1/500s or faster |
To keep drone footage compatible in different environments, use these strategies:
Master slow, steady movements for smooth shots.
Use automated flight modes for complex scenes.
Maintain steady altitude and speed to avoid shaky footage.
Shoot during golden hour for the best lighting.
Planning and using the right settings will help you avoid most compatibility issues during editing.
To keep drone footage compatible, use professional editing software, maintain consistent color grading, and stabilize shaky shots. Recommended tools with automation and quality control features streamline editing. Adopting best practices during shooting and post-processing leads to smoother workflows, improved video quality, and professional results.
FAQ
MP4 with H.264 codec works well in most video editors. This format offers high compatibility and keeps file sizes manageable.
Set the audio sample rate to 48 kHz. Use a clapperboard or hand clap for easy syncing during editing.
TotalMedia VideoConverter handles conversion and compression. It supports batch processing and device presets for fast, high-quality results.